

Getting Started: Set Up Social Planner in Metanow CRM
Exploring the Social Planner
You can begin exploring the Social Planner even before connecting any social media accounts. This allows you to preview key workflows and prepare content ahead of time.
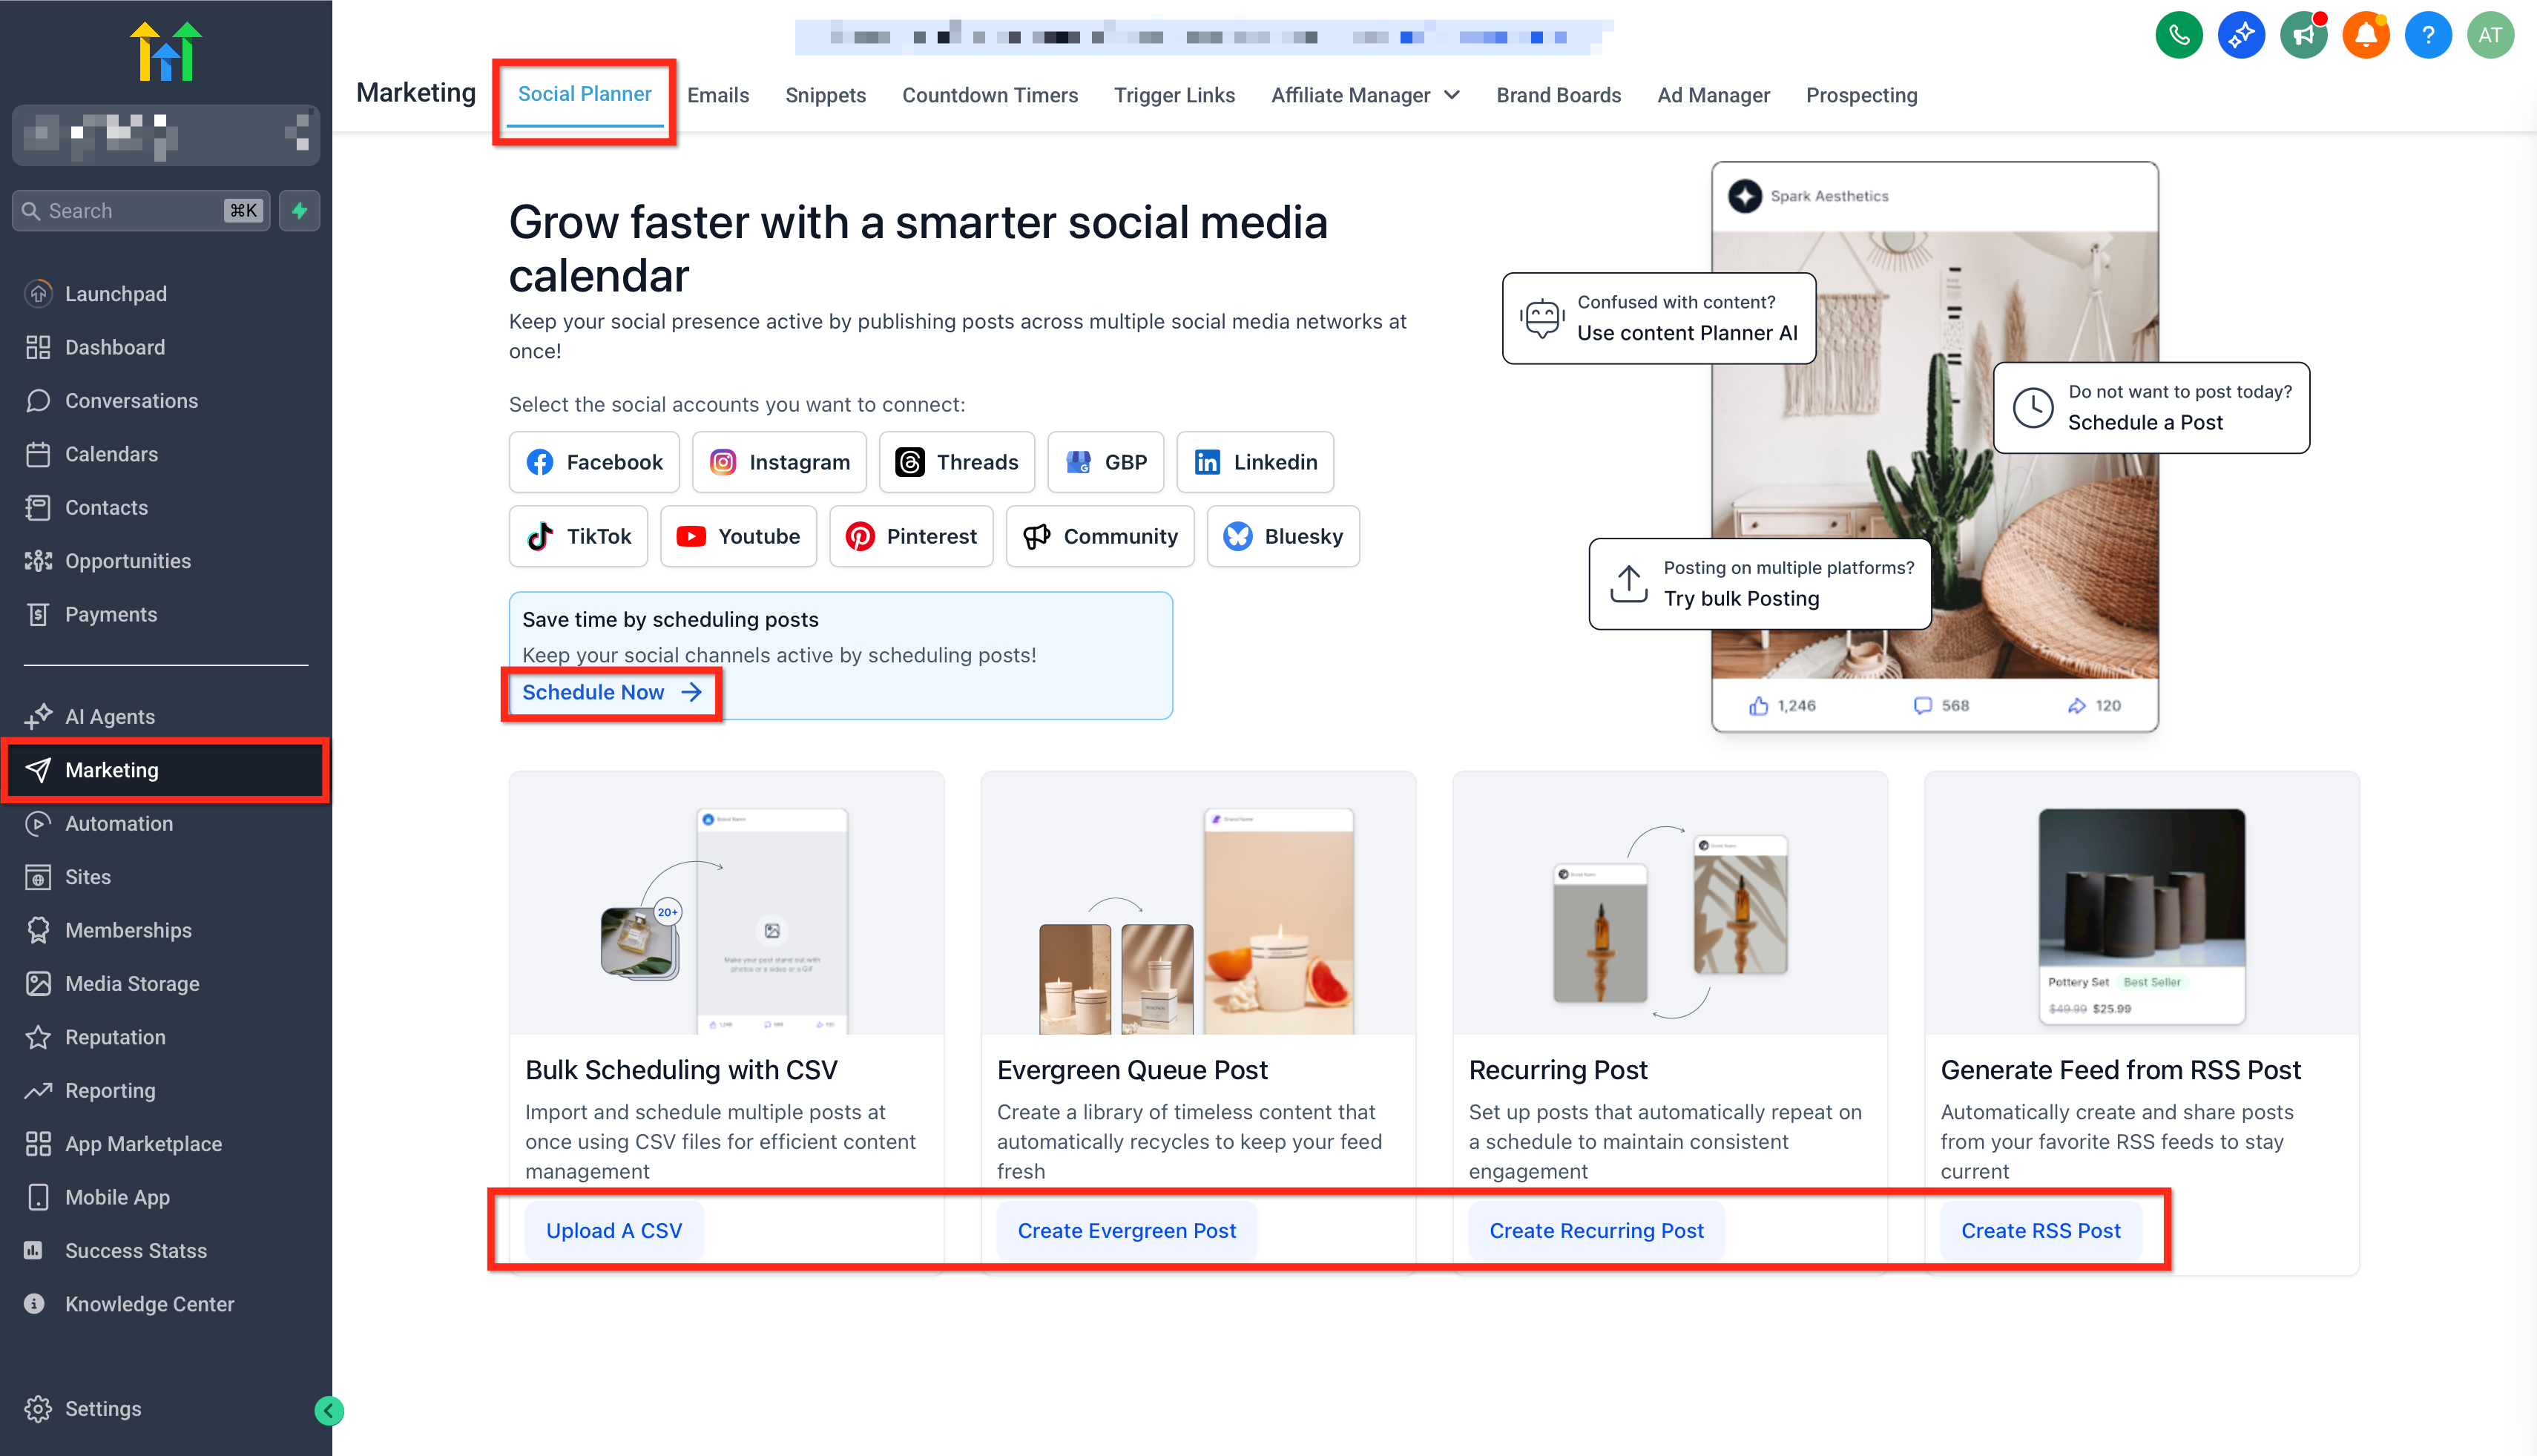
What you can do before connecting social accounts
From Marketing > Social Planner, you can access these features without connecting:
- Schedule a post: Click Schedule Now to open the post composer. Here, you can draft content, review scheduling options, and see how multi-channel posting works.
- Bulk scheduling with CSV: Click Upload A CSV to start the bulk upload process. You can import multiple posts at once, validate your file, and review the post list before scheduling.
- Evergreen Queue Post: Click Create Evergreen Post to explore evergreen content planning. This feature helps you organize reusable posts and build a queue for ongoing publishing.
- Recurring Post: Click Create Recurring Post to set up repeating content. This is useful for planning posts that automatically repeat on a set schedule for consistent engagement.
- Generate Feed from RSS Post: Click Create RSS Post to add an RSS feed and review the automation setup. This feature helps turn new items from an RSS feed into social posts to keep your channels active.
Connecting Your Social Accounts
To start publishing, you need to connect your social media accounts. Here’s how:
- Choose the social account you want to connect by clicking its button. We’ll use Facebook as an example.
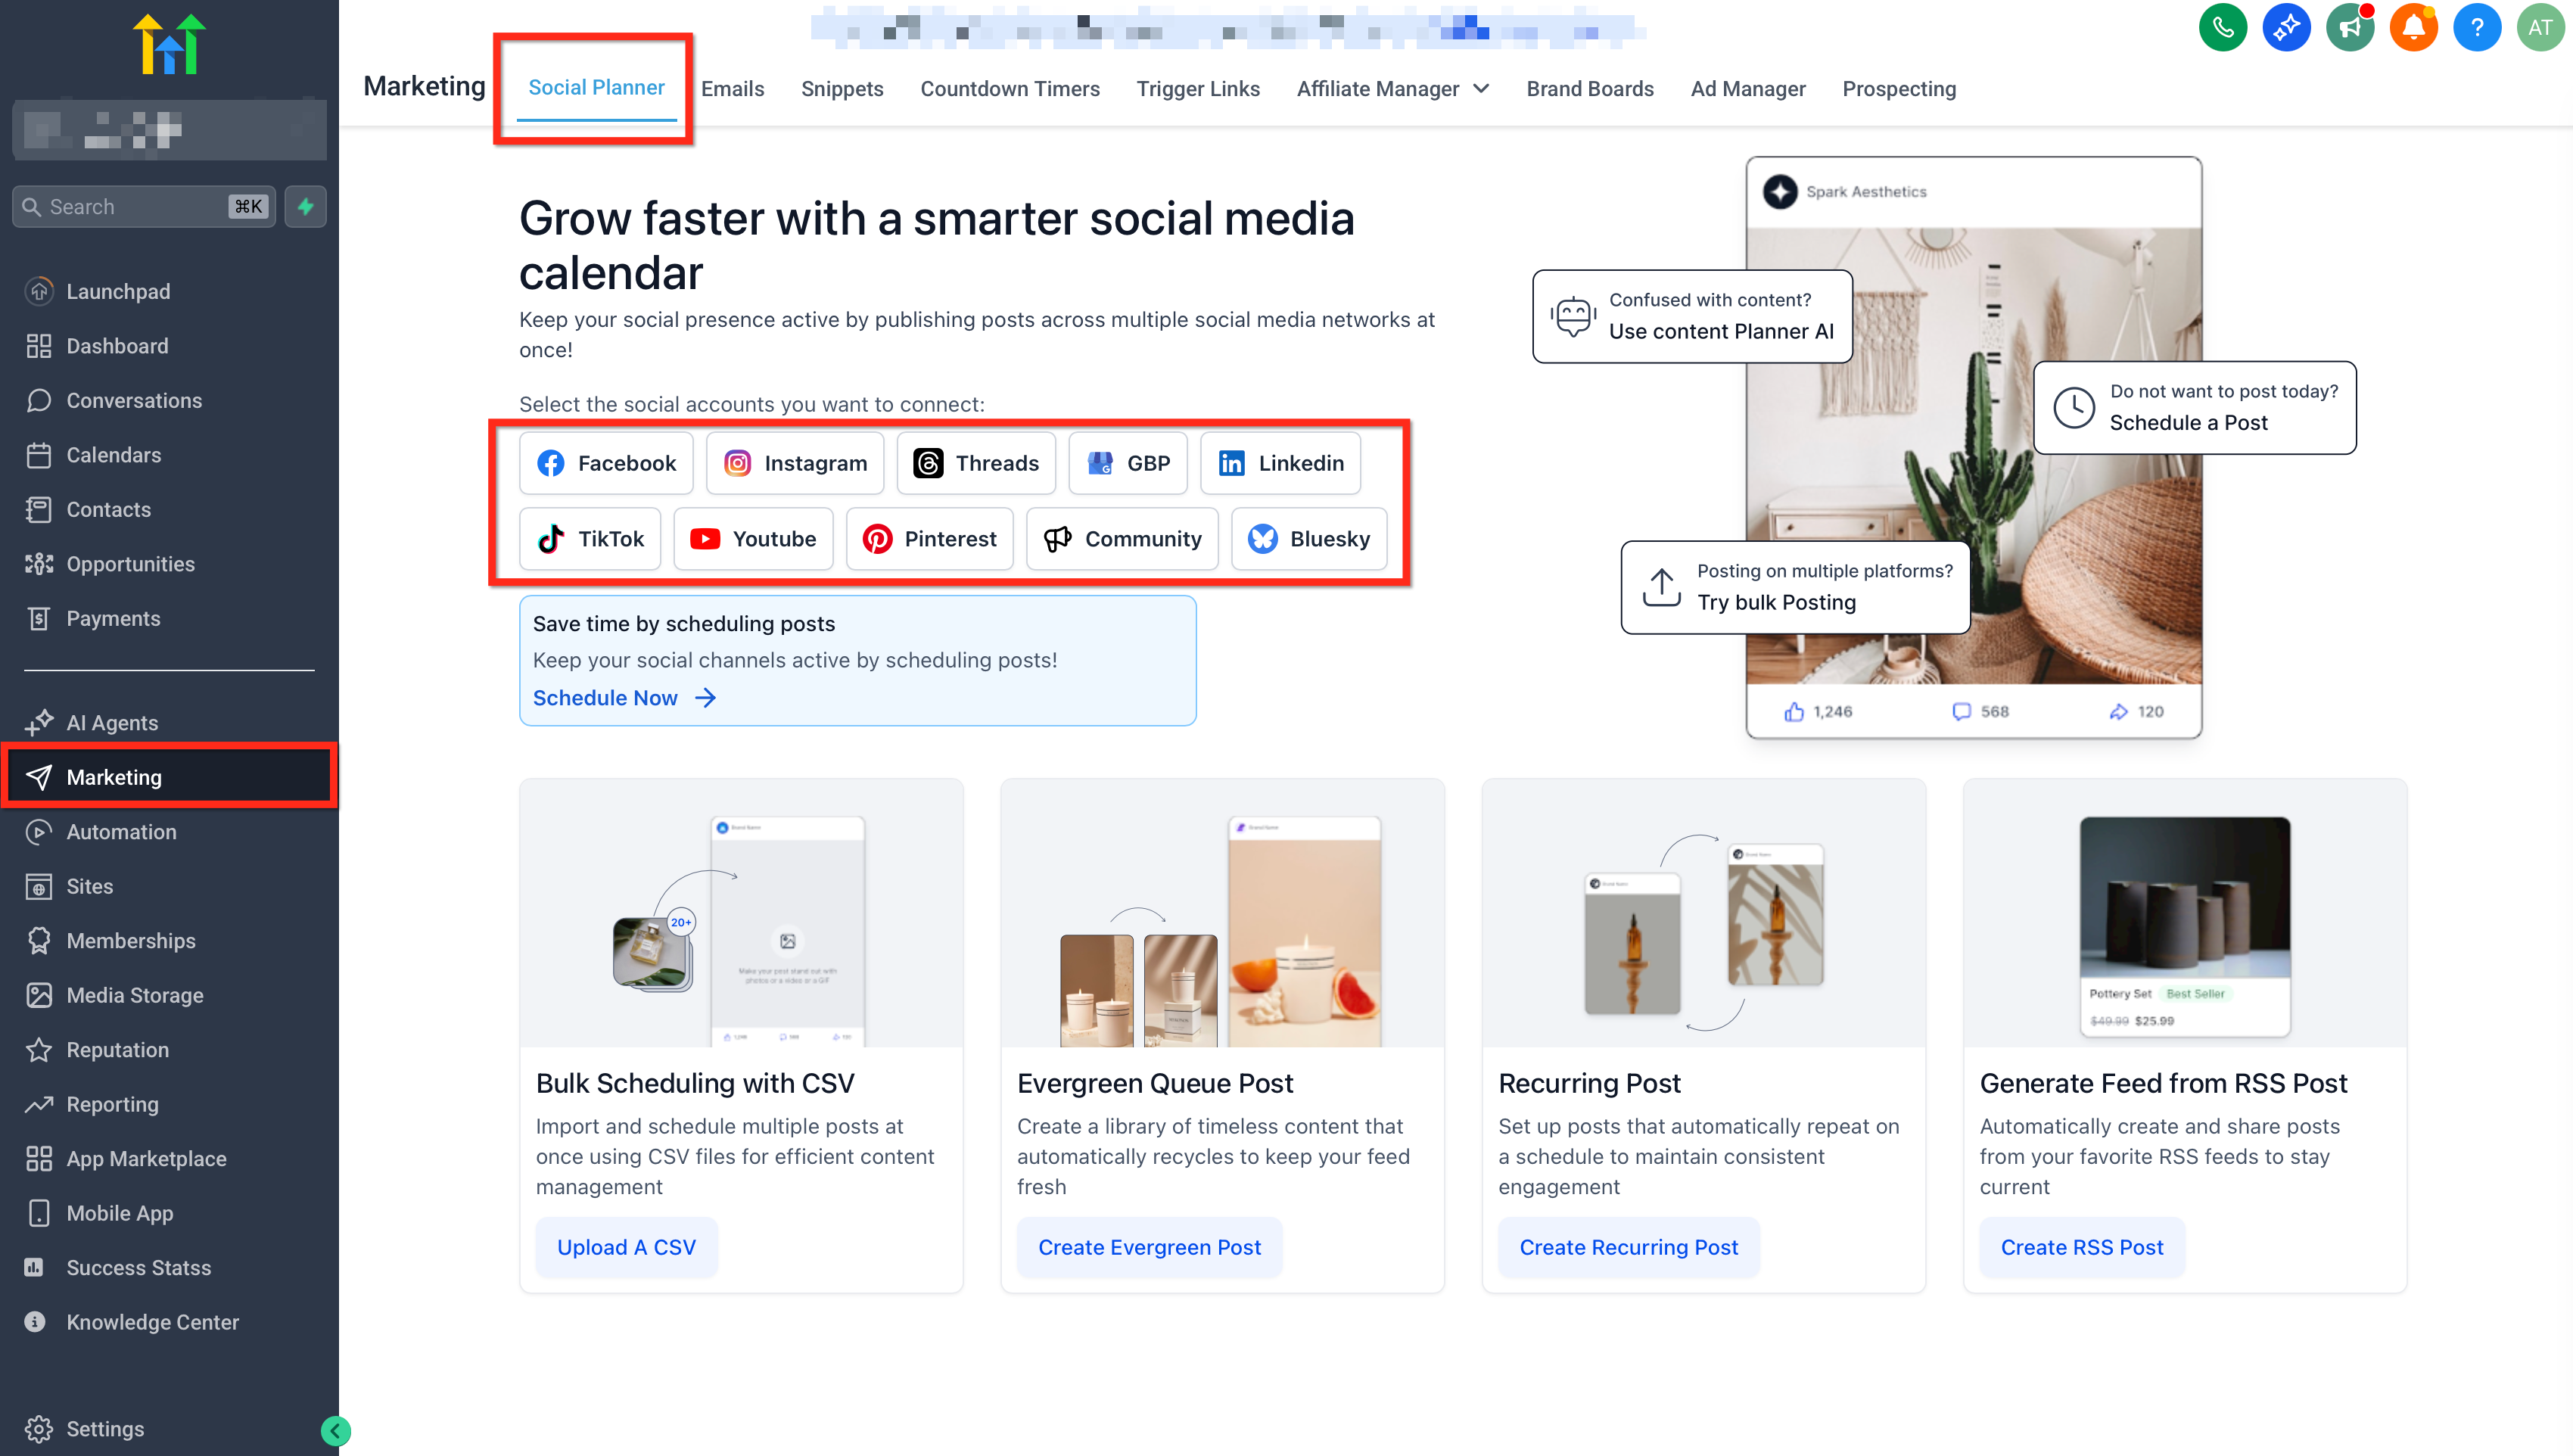
- Log in to your Facebook account.

- Select at least one Facebook page you wish to manage.

- Verify the connection to complete the setup.

Now that your account is connected, you're ready to create some posts!
How to Create Posts Using Templates
Templates simplify the content creation process. You can quickly customize pre-made designs for impactful posts. Here's how:
- Navigate to Marketing > Social Planner > New Post > Social Planner Templates.

- Search, browse, and filter the available templates to find one that fits your needs.

- Preview a template you like, and then click Continue.

- Schedule your selected template by clicking Select Socials (the plus icon on the right).

- Fill out the necessary details in the Schedule Post modal, including your social account and the desired timing.
- Click Schedule Posts.

Your post is now scheduled and ready to be published!
How to Create Custom Posts
If you prefer to create content from scratch, you can craft your own custom posts in just a few clicks. Here's how:
- In Marketing > Social Planner, click New Post > Create New Post.

- Enter your post details, selecting your social account, adding content, and more.
- Choose to save for later, post now, schedule for later, send for approval, or schedule as recurring.

Your custom content is now all set!
Adding and Editing Media in Your Posts
You can add images or videos from the Media Library using the video and image icons on the panel. When you add a video, you can preview it in the composer on the left side.
Tip: You can replace or edit media while keeping it in the same position in the post’s media sequence. This helps you swap files without altering your layout.

To edit a video thumbnail, hover over the media for the edit option to appear, then click the pencil icon on the video thumbnail.

Click the custom thumbnail tab to upload a new image.

Supported Platforms for Custom Video Thumbnails
- Facebook Pages
- Instagram Business Accounts
- LinkedIn Profiles and Pages
Connecting Additional Social Accounts
To expand your social media presence, you can easily add more accounts and manage them all in one place:
- Click Settings (the gear icon).
- Select the additional social accounts you wish to connect.
- Click Connect Social and follow the on-screen prompts.

You are now set up to manage multiple platforms effortlessly.
